
In the previous articles, we’ve started manually loading data into Snowflake and created a script to automatically download the data from the web and upload it to an S3 bucket.
It’s finally time to let everything come full circle and completely automate the entire process with the help of an AWS Lambda function.
What is AWS Lambda?
From their documentation you can read that “Lambda is a compute service that lets you run code without provisioning or managing servers.”. In normal English : you can run an application on an AWS server without having to think about the server itself AND for free if you keep within the pretty large boundaries of 1M free requests per month and 400,000 GB-seconds of compute time per month.
Step 1. Create an AWS Lambda Function
Navigate to the Lambda Dashboard and click “Create Function”. Use the “Author from Scratch” option. Give the Function a name that makes sense to you and select Python as your Runtime (as the date of this posting, the latest version is Python 3.8). You can leave the rest at default and click on “Create Function”.
The actual function that I’ve used:
import boto3
import urllib3

# Define File
url = 'https://opendata.ecdc.europa.eu/covid19/nationalcasedeath_eueea_daily_ei/csv/'
# Set up http request maker
http = urllib3.PoolManager()
# S3 object
bucket_name = 'whocovid'
file_name = 'data.csv'

object_s3 = boto3.resource('s3') \
                 .Bucket(bucket_name) \
                 .Object(file_name)


def lambda_handler(event, context):
# Ping website
    resp = http.request('GET',url)
    data = resp.data
    # Write new data to S3
    object_s3.put(Body = data)
    print("Successfully wrote new data to S3")
As you can see here, the file is pretty straight forward in what it does :
- open a connection to the file
- get the data
- upload it to the defined bucket (If you haven’t created an S3 bucket before, click here.)
After you’ve altered the url , bucket_name and file_name variables to suit your needs, click on Deploy at the top of the screen.
Step 2. Permissions
By default, your newly created function will not have all of the permissions to connect with your S3 bucket. Let’s set those up now:
Navigate to the IAM dashboard and click “Roles” on the sidebar.
Look for the role that was created for your function. It will be structured like <function >-role-random numbers and letters:

Open the Role name by clicking on it and choose Attach Policies. Look for AmazonS3FullAccess and attach it.
Step 3. Create a schedule
Now that we’ve got everything set up ,we need to be able to start the actual function with a set schedule.
Go back to the function and open it. At the top of the screen in “Function overview” you get the option to add a Trigger :
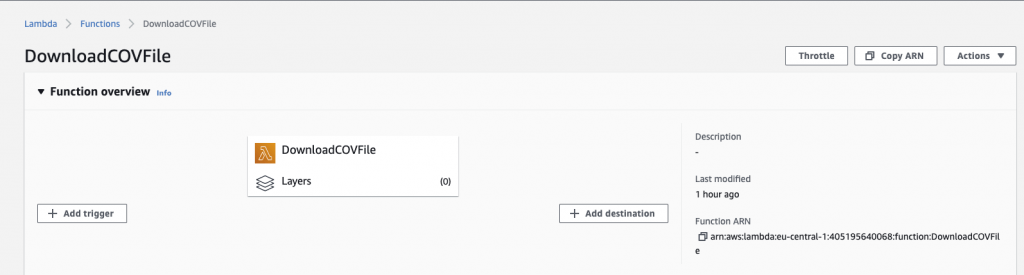
The trigger we want to add is with the usage of EventBridge.
Create a new rule with a decent name and description, switch Rule type to Schedule Expression and fill in the schedule that you want to use.
I’ve set mine up to run once a week at 08:00 on Friday with the usage of :
cron(0 8 ? * FRI *)
Select Add and you’ll be all set!
In need of further explanations or help? Check out our trainings page and find the one that suits your needs best. You can also hire me as a consultant!