
Visual Studio Code (VS Code) is a popular and versatile code editor that can greatly enhance our productivity when working with AWS (Amazon Web Services) resources. By integrating tools like AWS CLI and AWS SAM CLI into VS Code environment, we can streamline our development, testing, and deployment of serverless applications on AWS. In this blog post, we’ll guide you through the process of setting up VS Code for AWS development and explain the importance of installing AWS CLI and AWS SAM CLI, including instructions for setting them up.
Important:You’ll need an IAM (Identity and Access Management) role when working with AWS CLI and AWS SAM CLI (Role should have basic permissions and be able to use AWS Lambda function) . In order to configure AWS tools you would to know your Access Key ID and Secret Access Key.
Why Use VS Code for AWS Development?
VS Code offers numerous features that make it an excellent choice for working with AWS:
- Rich Extension Ecosystem: VS Code has a vast extension ecosystem, with extensions specifically designed for AWS development. These extensions provide features like auto-completion, IntelliSense, and easy navigation of AWS resources, enabling a seamless development experience.
- Integrated Terminal: VS Code includes an integrated terminal, allowing you to execute AWS CLI and AWS SAM CLI commands directly within the editor. This eliminates the need to switch between multiple tools, enhancing productivity.
- Debugger Support: VS Code offers a powerful debugging capability that can be leveraged for serverless application development. You can set breakpoints, step through code, and debug AWS Lambda functions locally.
Installing VS Code:
- This is quite straightforward. Visit the official VS Code website (https://code.visualstudio.com/) and download the appropriate installer for your operating system.
- Run the installer and follow the instructions to complete the installation.
- Launch VS Code once the installation is complete.
Install Python
You’ll need to install Python on your machine, if you haven’t done so already. I highly recommend managing all your python installation using Pyenv. You can find more on how to accomplish that here.
Creating a Python Virtual Environment
Virtual Environments are beneficial in situations where we have multiple Python installations on our system and different applications rely on different Python versions. By utilizing Virtual Environments, we can establish segregated environments for each application. This isolation ensures that an application operates independently within its designated environment, utilizing the specified Python Interpreter and standard library. The global environment does not impact the Virtual Environment, and any changes made within the Virtual Environment do not affect the external environment.
Any package installed via pip install resides within the domain of the Virtual Environment only. We can run the program in the Virtual Environment now and it will run in isolation from the global context.
As noted before, I recommend using pyenv and pyenv-virtualenv to prevent future headaches.
AWS CLI
AWS CLI (Command Line Interface) is a command-line tool provided by AWS that allows us to manage and interact with AWS services and resources using text commands. It lets us automate tasks, script workflows, and integrate AWS functionality into applications.
With AWS CLI, we can create and configure resources, manage storage and databases, launch and terminate instances, manage users and permissions, and more. It requires configuration with AWS credentials and provides a consistent experience across different operating systems. In essence, AWS CLI is a powerful tool for managing AWS through the command line.
We will install it using Homebrew:
Open Terminal and run the following command to install AWS CLI: brew install awscli
Once installed, verify the installation by running aws --version in the terminal. You should see the version number if the installation was successful.
Side note:
When you use Homebrew to install packages, they are typically installed in the system directories, such as /usr/local/, /usr/local/bin/, or other system-level locations depending on the package. Homebrew manages these system-level installations and handles dependencies between packages.
Virtual environments, on the other hand, are specific to Python and provide isolated Python environments with their own package installations separate from the system-wide packages. The packages installed using pip within a virtual environment are contained within the virtual environment directory and do not interfere with the system-wide packages managed by Homebrew.
In summary, Homebrew and virtual environments serve different purposes. Homebrew manages system-level packages and installations, while virtual environments are Python-specific and isolate Python packages within the virtual environment directory.
AWS SAM CLI
AWS SAM CLI extends the capabilities of AWS CLI specifically for serverless application development.
SAM CLI allows us to define our serverless applications using the AWS Serverless Application Model (SAM) template, which simplifies the deployment and management of serverless resources on AWS.
With SAM CLI, we can locally test our serverless applications, simulate AWS Lambda functions, and debug code. It provides a local development environment that closely emulates the AWS Lambda execution environment, enabling faster development iterations.
Additionally, SAM CLI facilitates the deployment of serverless applications to AWS. It packages our application code and dependencies, provisions the required AWS resources, and deploys the application to the target AWS environment. This makes it easier to manage and automate the deployment process for serverless applications.
Run the following command to install AWS SAM CLI (Again, using Homebrew):
brew tap aws/tap brew
install aws-sam-cli
Once installed, verify the installation by running sam --version in the terminal. You should see the version information if the installation was successful.
Configuring AWS CLI
Before using AWS CLI or AWS SAM CLI, you need to configure them with your AWS credentials:
- Run
aws configurein the terminal. - Provide your AWS Access Key ID and Secret Access Key when prompted.
- Specify the AWS region of your preference.
- Optionally, set the default output format (e.g., JSON).
Configuration is now complete, and AWS CLI is ready to use.
Installing Docker
SAM CLI requires Docker to provide a local environment that closely replicates the AWS Lambda execution environment. Docker is a containerization platform that allows applications to run in isolated environments called containers.
By using Docker, SAM CLI simplifies the local development and testing experience for serverless applications, ensuring consistency and reducing the friction between the local development environment and the actual AWS Lambda environment.
It’s worth noting that while SAM CLI uses Docker for local development, it is not required for deploying and running serverless applications on AWS. In the AWS cloud, Lambda functions are executed on managed infrastructure without the need for Docker.
For more information and download instructions, see Docker.
VS Code Extensions
To leverage the power of AWS CLI and AWS SAM CLI within VS Code, you can install the following extensions:
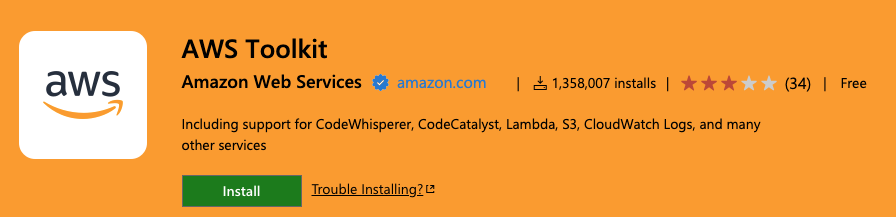
AWS Toolkit: This official AWS extension provides a suite of tools for working with AWS resources. It offers features like resource exploration, deployment management, and serverless application debugging.
- Open Visual Studio Code and go to Extensions.
- Search for the extension AWS Toolkit for Visual Studio Code.
- Install and reload VS Code if prompted
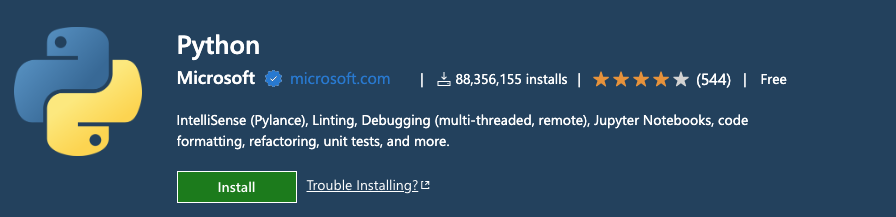
Python: If you are using Python for your serverless application development, install the Python extension to benefit from features like linting, code formatting, and Python-specific debugging.
Conclusion
By installing AWS CLI and AWS SAM CLI and leveraging the available extensions, you can streamline your AWS development workflow, accelerate serverless application development, and improve overall productivity. Take advantage of the rich features and integrations that VS Code offers to unlock the full potential of AWS services.
In the next blog post we will go through how to leverage this infrastructure for setting up and deploying an AWS Lambda function.