In Tableau, applying conditional formatting across one measure is relatively easy. To achieve that, we simply need to drag and drop our data elements onto the respective columns, rows and color shelves. Different than excel, however, conditional formatting in Tableau cannot be applied across a column but rather across a mark. Marks are generated when measures are added to the rows or columns shelf. But what should we do when we want to conditionally format dimensions? In this post we are going to find out how to do just that!
A Data Visualisation Tool
Thinking about it, it is a bit ridiculous that dimensions conditional formatting is not a feature out of the box. Tableau associates itself mostly to the fact that it is a data visualisation tool, not Excel, and definitely not a “tabular report builder”. On the other hand, there are certain industries and scenarios within companies where tables are expected or even required! and Yes, it does happen to be that users sometimes need tables to do their job.
There are also instances in which there are no measures in the data, only dimensions. A recent project to evaluate security breaches in a company presented me with that exact problem.
Conditional formatting for dimensions is not a Tableau out of the box feature. Yet, it gives us the opportunity to better understand the underlying actions when trying to create that. So without further ado, let’s explore it.
One aim of the project was to make a highlight table to inspect user attributes to a certain company standard. In order for us to follow the procedure I mocked up some data for the sake of this exercise.
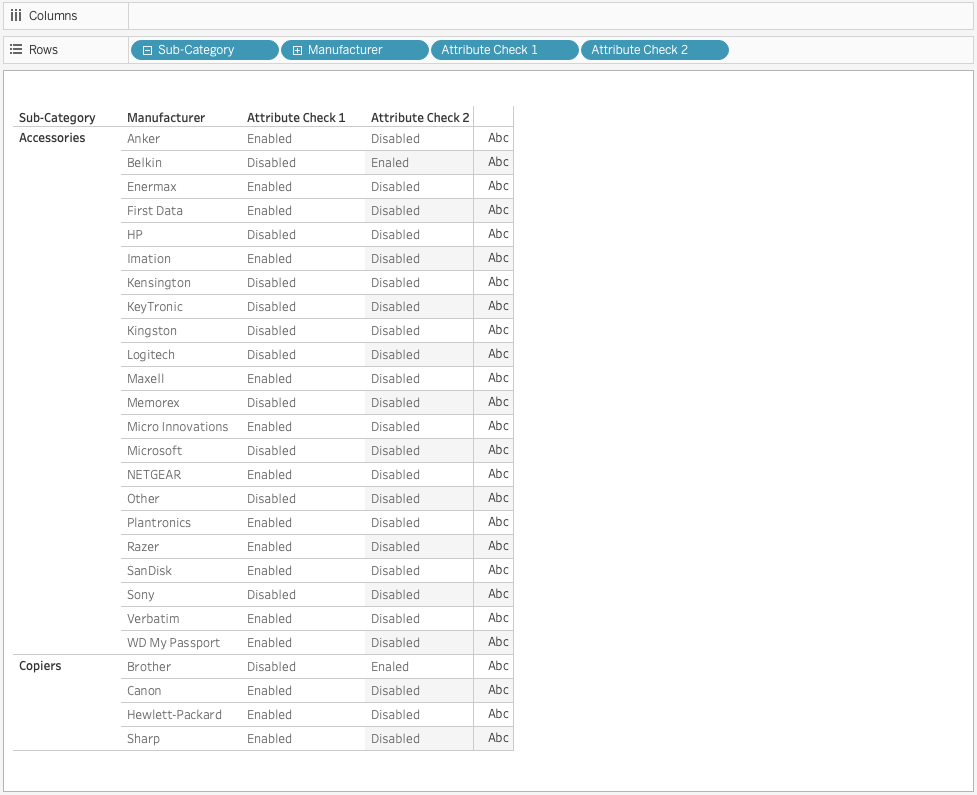
Our task is to conditionally highlight each attribute check cell for end users. Basically, we want to end up with attribute’s cell to be Blue for ‘Enabled’ and Red for ‘Disabled’. This is one of those excel type functionalities that is very easy to do in Excel, but quite hard to accomplish in Tableau.
But when we examine our table we find only Dimensions. How can we condition the Attributes checks when there are no measures to be found?
Placeholders to the Rescue
Some time ago I have discussed about placeholders while creating doughnut charts. In this example we will make another use of placeholders and create a set of measures to help us in our task.
Since each placeholder is a measure with its own Marks Shelf, we can edit each Marks Card independently according to our needs.
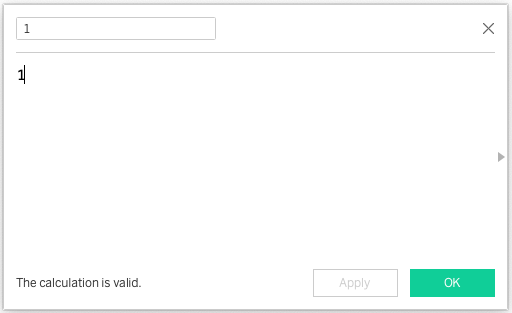
Let’s create 2 calculated fields as our placeholders:
- First placeholder is “1”, and second placeholder will be “0”. Each Placeholder will be assigned with the number 1.
- Next, we’ll drag placeholder 1 and placeholder 0 to Columns.
- Tableau will automatically aggregate it as SUM with the fact that as measures, each one of them will have its own axis.
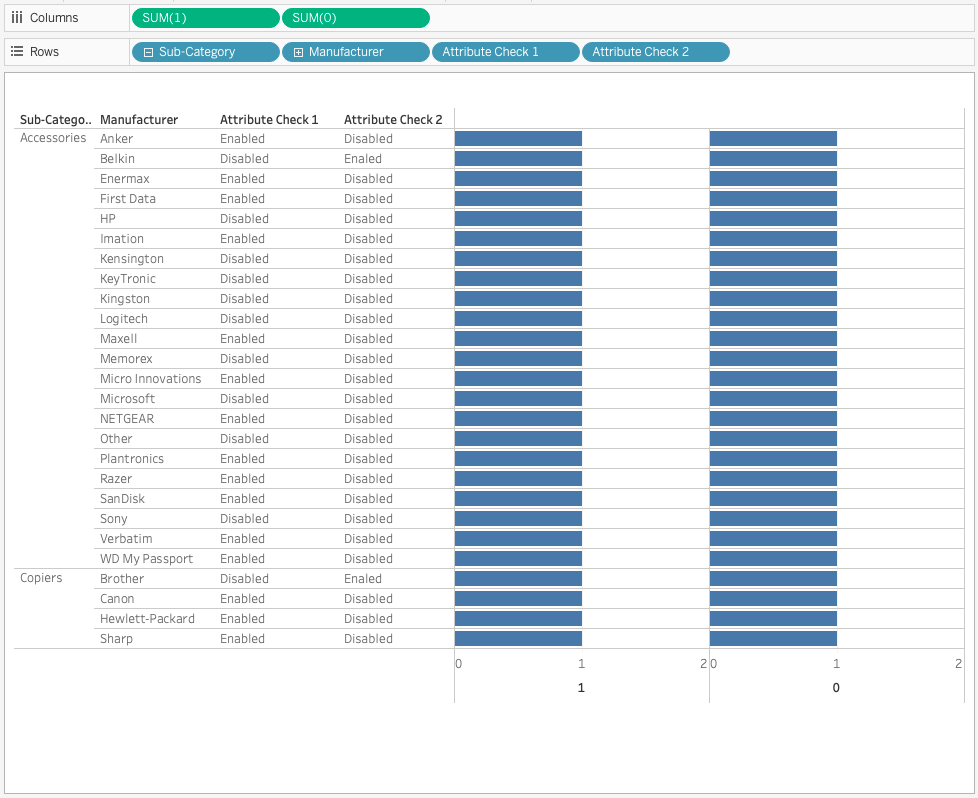
Creating our ‘Conditional Formatting’ Cells
There are 2 properties that we need to show in a cell for our table: Color and Text. We will assign those properties to our placeholders 1 and 0 respectively. In order to construct the color for a cell we’ll create a calculated field for each attribute check to represent color. Let’s name it ‘Attribute check 1 (Color)’ and use something like the following.
CASE [Attribute Check 1]
WHEN 'Enabled' THEN 'Blue'
WHEN 'Disabled' THEN 'Red'
END
Our Text attribute will come from Attribute Check itself, and we will assign it to Placeholder 0
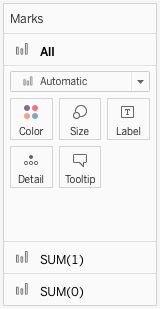
Checking the Marks Shelf, We can see that each one of our placeholders: SUM(1) and SUM(0) has its own set of marks.
Setting Color (Placeholder 1):
- Click Placeholder 1 (SUM(1)) to enter its set of marks.
- Drag ‘Attribute Check 1 (Color)’ to Color.
- Change the chart type menu from Automatic to Square.
- Click Size and swipe it to the maximum.
- Click Color and Edit colors appropriately.
Setting Text (Placeholder 0):
- Click Placeholder 0 (SUM(0)) to enter its set of marks.
- Drag ‘Attribute Check 1’ to Label.
- Change the Dropdown chart type menu from Automatic to Text.
Now that we have set up our properties we will combine Placeholders 1 and 0 with Dual Axis magic. Right click SUM(0) and change to Dual Axis.
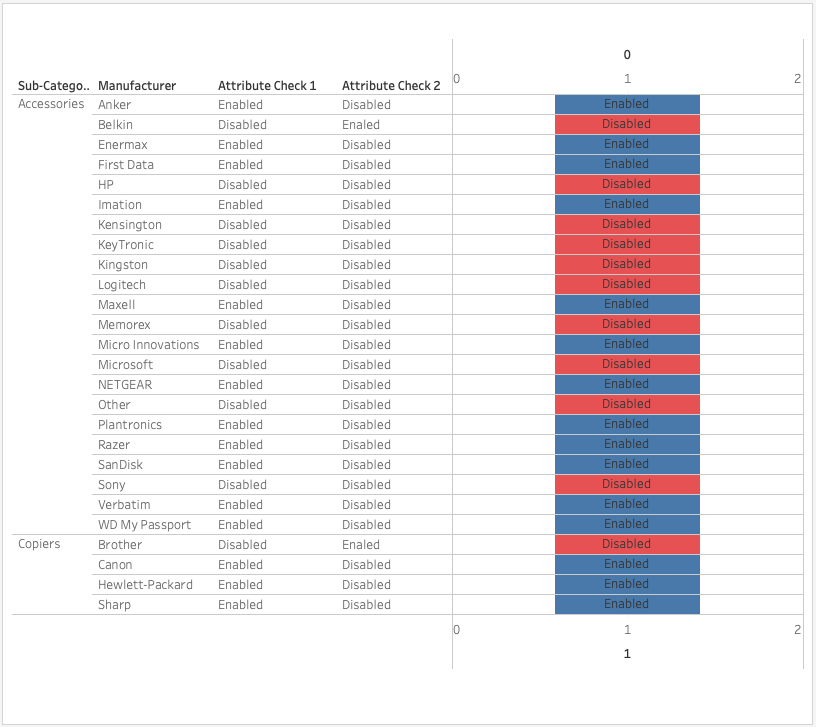
Adjusting the Axis
Our Color and Text are now combined and we only need to take care of our Axis Header. We will not remove it completely because we need it to create an appropriate column header.
Right clicking the bottom Axis will enable us to enter the Edit Axis.
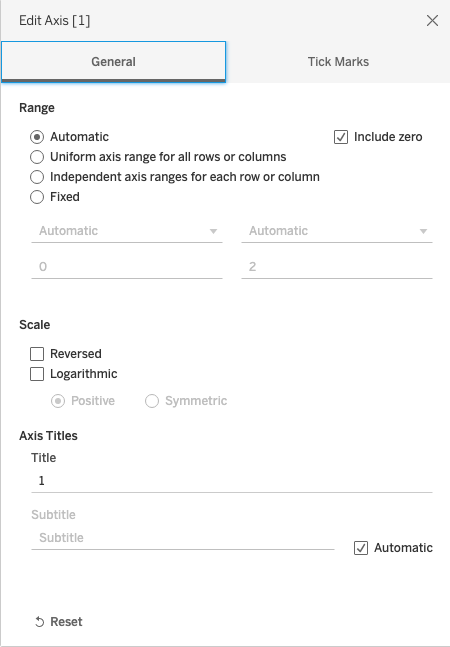
Bottom Axis: Right clicking the bottom Axis will enable us to enter the Edit Axis
- In the General Tab go to Axis Titles and delete the title
- go the the Tick Marks tab and set it to None.
Upper Axis: Right clicking the upper Axis will enable us to enter the Edit Axis
- In the General Tab go to Axis Titles and change it with ‘Attribute Check 1’.
- Go the the Tick Marks tab and set it to None.
Adjusting Table Borders:
- Adjust first the right border of the newly created column and then adjust the upper border to align the title with all other columns.
Finally:
- Right Click the Dimension ‘Attribute Check 1’ and uncheck Show Header.
- Optional: Go to Format > Cell Size > and change it to Narrower or any other option of your choice.
And Voila! We have created our first conditional formatting column.
We will follow the same procedure for ‘Attribute check 2’, adjust the axis to include ‘Attribute Check 2′ and finally uncheck the header. Eventually, we will end up with this view:
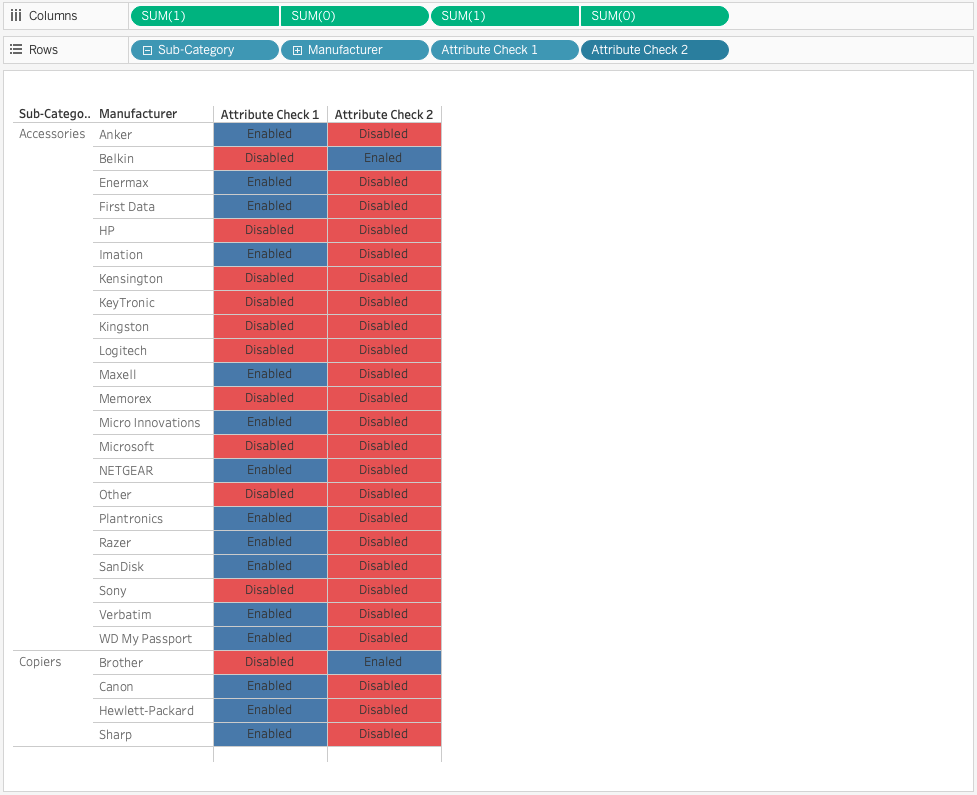
Summary
That’s it! We are done. I hope you found this post helpful. For a complete workbook of this post check it out on Tableau Public.
End Note: Since Conditional Formatting is not really a native Tableau behaviour, there are some caveats we should take into account. Although very handy, repeating this process for more than 10 columns will inhibit Tableau performance and the view will take a bit longer to load.

