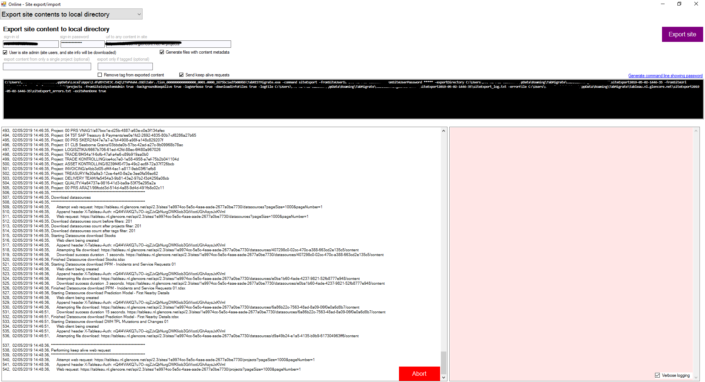
Let me just introduce this blog with a quick background story. We have been contacted by a customer who was having a lot of issues with Full hard drives where Tableau Server was installed. One of the solutions the customer thought of was to remove nodes from the cluster and then Re-add them to solve this.
Unfortunately this caused the cluster to break, the end one of the nodes was added double and we were unable to run any TSM command anymore. This meant no back-ups or snapshots to restore the system.
My colleague Jonathan Macdonalds wrote a nice blog on how to make a backup without TSM (click here to read it). However, this solution was too scary to do for the customer. So the best option I could think of was…TabMigrate!
Why TabMigrate?
TabMigrate is a lightweight tool for moving Tableau content between multiple Tableau Server environments, such as test and production Tableau Servers or sites. It can also be used to provision sites with Workbooks and Data Sources from a local file system.
This means that we could migrate content with one simple tool, without the need to do any scripting or juggling to get the content out of the system.
Why a blog about this?
Good question! Well because there are two main problems when using TabMigrate:
1. It won’t connect to Tableau Servers with SSL/TLS (HTTPS).
2. All the content will be downloaded onto your users AppData folder. This means that if you don’t have a big enough C: drive then this would make it impossible to download all the content (This case it was 150GB of extracts and Workbooks).
Here is what I did to solve this:
HTTPS had in the end a really simple solution: connect first to the HTTP, in the background the gateway will forward you to HTTPS. This then is no longer a limit for TabMigrate to do his magic.
The part on downloading content has required a little bit more “magic”. I created something that’s called a “symbolic link” – this creates a folder that is actually stored in a different location (rather than?). This is how I could make TabMigrate “think” it downloaded all its content into the Users AppData Folder, but instead it would be saving it into another location (In my case it was the D:\ drive).
Soo to set this up you need to run the following command:
“Mklink /J C:\Users\tableausvc\AppData\Roaming\Tabmigrate D:\DATA\Migration”
This now will create a folder inside your roaming folder which is then linked to the folder D:\DATA\Migration. This means that every file that is put in the “C:\Users\tableausvc\AppData\Roaming\Tabmigrate” folder is actually stored in “D:\DATA\Migration”.
![]()
After this TabMigrate will just run as normally without you having to change any code.

I hope this blog I shared can be useful for you! If you have any more questions don’t hesitate to contact us.
In need of further explanations and help? Join our workshops and trainings or hire a consultant!
Header image from: unsplash.com. Screenshots from author.

